How to Switch a Glock Mag Release
If your Glock 19’s magazine release is stiff or you’re a left-handed shooter tired of an awkward reach, swapping it is a 5-minute job that requires one tool. The factory polymer release is designed for right-hand operation, and upgrading to an extended or ambidextrous metal release is one of the most impactful ergonomic mods you can make. Here’s the exact process, from disassembly to function check.
Tools and Parts You’ll Need
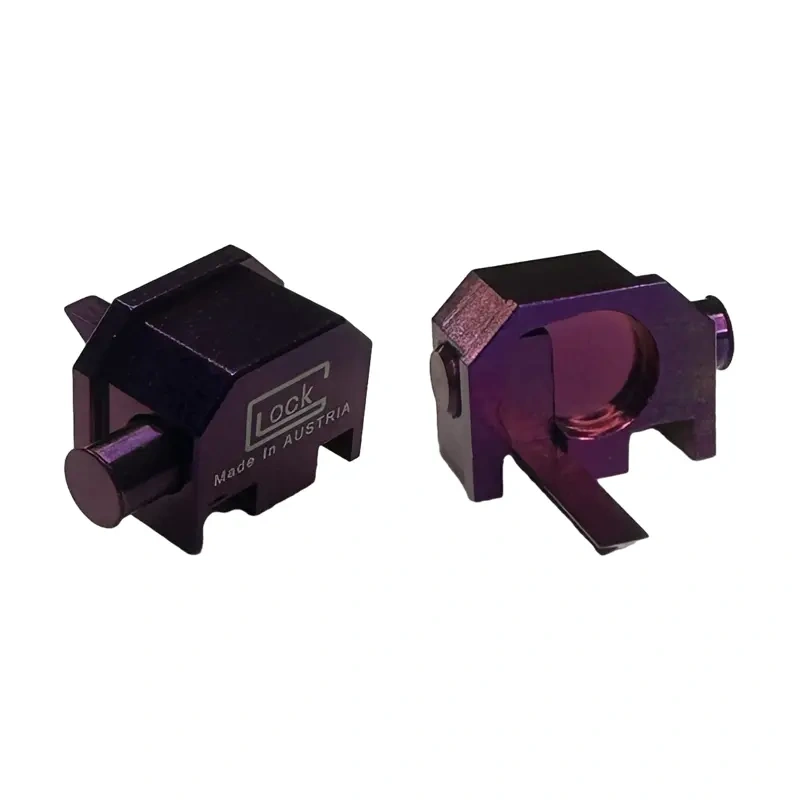
You only need a 3/32″ punch or a Glock tool. For the new part, you have options. The factory Glock extended magazine release (Part #SP07433) is a common upgrade. Aftermarket options like the Vickers Tactical Extended Mag Release or the Hyve Technologies release offer more aggressive texture and color choices. If you’re switching sides for a left-hand configuration, you’ll need a dedicated left-hand release like the Glock factory part (#SP07033) or an ambidextrous model. Ensure compatibility; Gen5 models use a different, slimmer release than Gen1-4. Always have a fresh magazine for the final function test.
Step-by-Step Disassembly
First, ensure the pistol is completely unloaded. Remove the magazine and visually and physically confirm the chamber is empty. Lock the slide to the rear. Using your punch, push the slide lock lever’s pin from the right side of the frame towards the left. It only needs to move about 1-2mm—just enough to clear the frame. Do not remove it completely. Once it’s pushed out slightly, you can rotate the slide lock lever downward and out of the frame. This releases tension on the magazine release spring. Next, from the opposite side of the frame, push the magazine release button inward. The entire assembly—button, spring, and spring cap—will come free. Note the orientation: the curved end of the spring hooks into the frame, and the flat cap sits against the release.

Installing the New Release
This is where you decide on configuration. For a standard right-hand extended release, insert the new release’s button into the frame from the left side. Hook the spring’s curved end into the small notch inside the frame, then place the flat spring cap over the spring’s straight end. Compress the entire assembly and push it through the frame until the button protrudes from the right side. For a left-hand install, you simply reverse the process: insert the button from the *right* side of the frame so it protrudes on the left. The spring orientation remains the same—curved end hooked in the frame. The key is steady pressure to compress the spring. A common mistake is not fully seating the release, which can cause the slide lock lever to bind during reinstallation.
Reassembly and Function Check
With the new magazine release seated, reinstall the slide lock lever. Insert its pin into the left side of the frame and rotate the lever up into position. Align the hole in the lever with the hole in the frame, then use your punch to tap the pin back through from left to right until it’s flush. Perform a full function check. Insert an empty magazine—you should hear and feel a positive click. Press the release; the magazine should drop free without needing to be pulled. Rack the slide to ensure the slide lock lever engages properly when manually activated. Finally, with the pistol *unloaded*, perform a press-check to ensure the new release doesn’t interfere with slide operation. A proper install requires zero fitting and provides immediate, reliable function. For those looking to complement this mod, Glockautoswitches offers select components that integrate with a streamlined control setup.

Why Upgrade Your Mag Release?
The factory polymer release works, but it’s small and requires a significant shift in grip to actuate quickly. An extended release, typically adding 2-3mm of surface area, allows you to drop a mag with minimal thumb movement, shaving crucial tenths of a second off reloads. For lefties, switching the release to the right side of the frame is a non-negotiable for efficient manipulation. Metal aftermarket releases also eliminate the wear and “mushiness” that can develop on polymer parts over thousands of cycles. It’s a durability upgrade. When paired with other control enhancements from a specialist like Glockautoswitches, you create a pistol tailored precisely to your hand and shooting style. This isn’t just a cosmetic change—it’s a direct performance enhancement.
FAQ
How to switch Glock mag release side?
To switch sides for left-hand operation, you need a left-hand specific magazine release. During installation, insert the release button from the *right* side of the frame so it protrudes on the left. The spring and cap install identically to a right-hand setup. The slide lock lever does not need to be modified.
How to switch Glock mag release?
Unload the pistol. Push out the slide lock lever pin 1-2mm, remove the lever, then push the old mag release inward from the opposite side to remove it. Install the new release by compressing the spring and cap, pushing the button through the frame. Reinstall the slide lock lever and pin. Always perform a function check.
How to reverse Glock mag release?
Reversing the release means converting it for opposite-hand use. This requires a dedicated left-hand or ambidextrous magazine release part. You cannot simply flip the standard release. The process is the same as a standard swap, but you insert the button from the opposite side of the frame during installation.
Browse our glock switches collection
Last updated: April 07, 2026